Prepare vehicle labelling as a 3D presentation in CorelDRAW
- Open the 3D-capable CAR-SPECIAL® vehicle file with CorelDRAW
(the structure is identical to the 2D drawings). - Create a new layer for your design, move the small bounding squares to this layer.
- Design the vehicle as usual with fonts, logos and images.
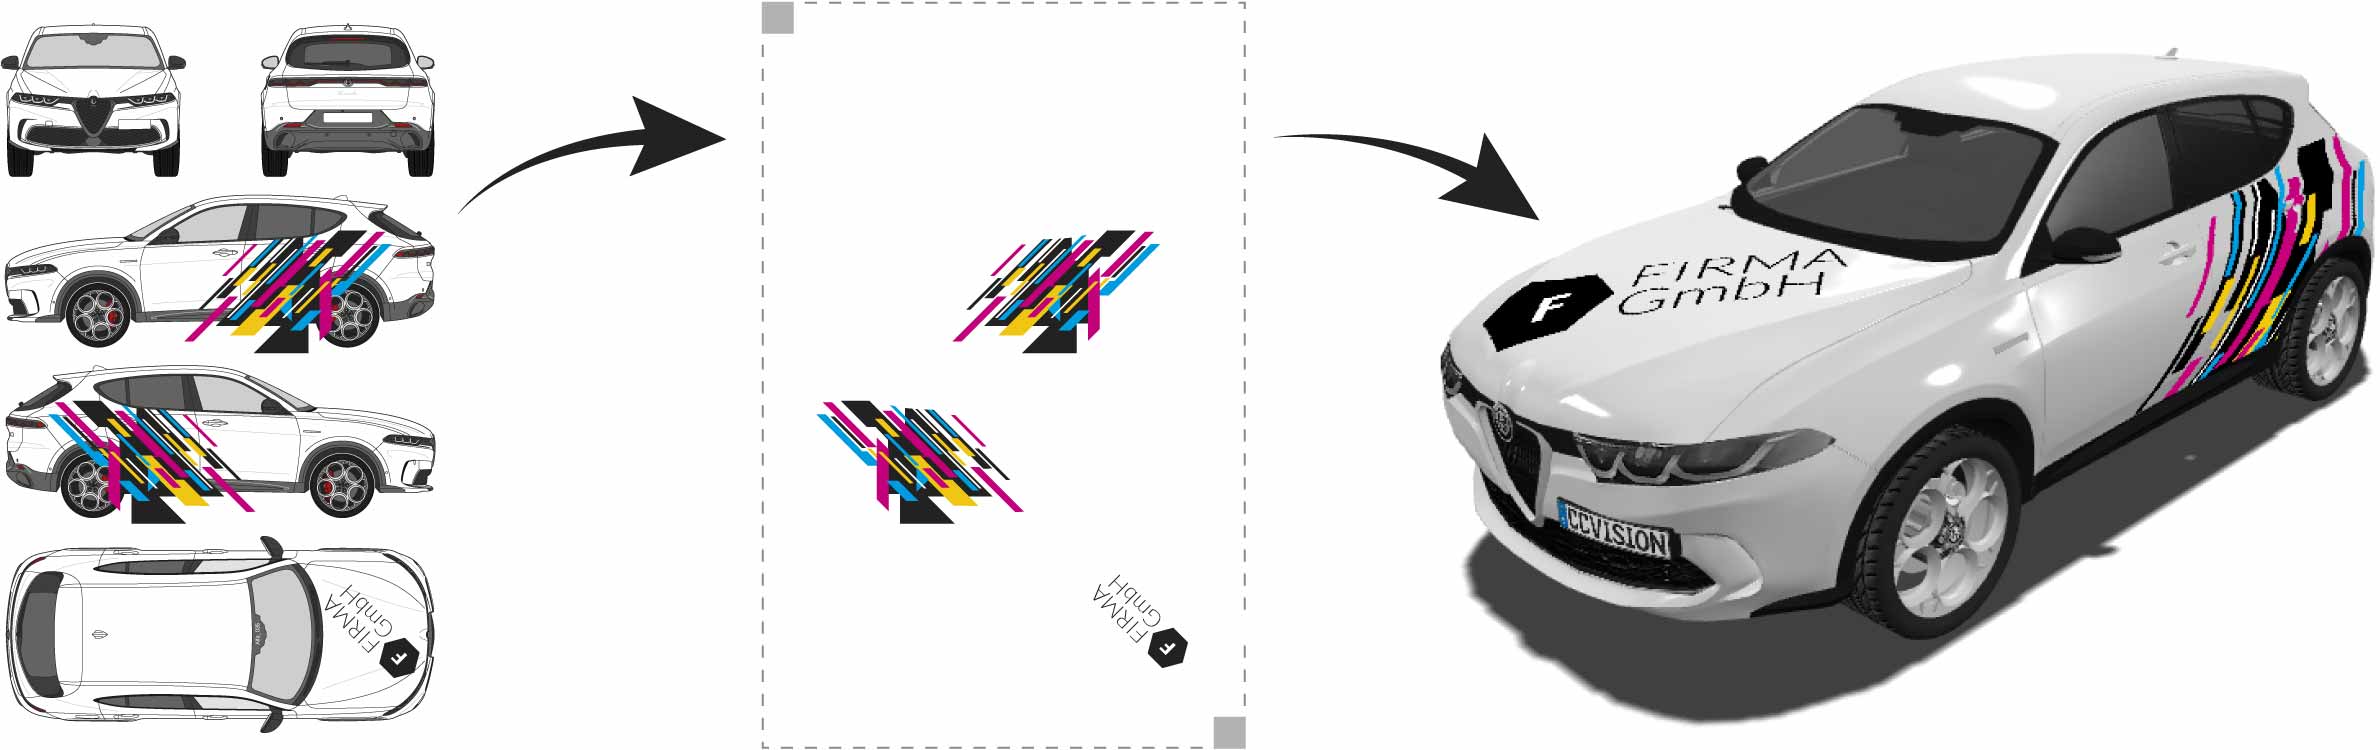
Export your design with the bounding squares as a PNG file:
File > Export for > Web ...
Export settings:
- PNG
- RGB colour (24 bit)
- Transparency
- Smoothed by anti-aliasing
- Height: 2048 pixels
- Maintain aspect ratio
Important!
- Only export the layer with your design and the two bounding squares - not the vehicle drawing!
- Your design must not protrude beyond the bounding squares.
- The original file name must be retained, but can be added, for example: Ford_351_mytext.png.